
2019 the TroPro trade exh…
Release Time:2016/05/20 Video-How to use your laser software Browsing Times:1310
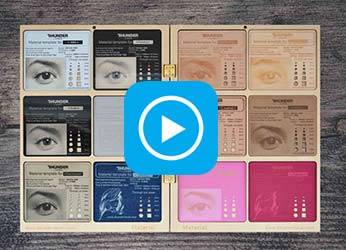
Double click the layer to popup the layer parameter dialog. Set the “is Output” as Yes. Then set the engrave speed as 700.
Then set the processing mode as “Scan”. In fact, we can only select “scan” mode if we use a BMP.
Now set the engraving power. Usually, for engraving, we will set the min power and max power the same.
If you didn’t’ tick “Invert color” in the last step, you can tick “Negative Engrave” here when engraving a transparent material.
For scan mode, you can select X_swing to get a faster speed. If you need to get a better engraving quality, you can select X_unilateralism.
Now we can set the interval. The Interval means the resolution of the engraving. The smaller the interval, the higher the resolution. Usually we will set the interval between 0.08 and 0.04. Now we can click ok and send the file to the laser cutter.
And that’s all for today. See you. Popular PagesBefore: ▷10 How to Engrave a Photo

THUNDER LASER New Zealand will show case a range of CO2 laser cutting and engraving systems. We're devoted to offer the New Zealanders domestic, industrial and educational clients a quality and affordable laser system backed up with great service.
If you are interested in our laser systems or need any tech support, please feel free to contact us.
Mike Carrigan
Company address :
115 Isaac Road Eyrewell Forest Rangiora RD6, NZ 7476
Tel:
64272987777
Sales Email:
mike@itsnzltd.com